

How To Get One Image Inside Another Image In Photoshop
How To Add An Image To Existing Layers In Photoshop
When you lot're working on a Photoshop project, you'll constantly need to add images to existing layers. Whether y'all want to combine 2 photos together or just place one on superlative of the other, Photoshop makes it easy. There are a few different ways of adding images in subversive and not-subversive ways. This tutorial will share the options you have when adding images to existing layers or documents in Photoshop.
To Add A New Epitome To An Existing Layer, Follow These Steps:
- Drag & Drop An Image From Your Computer Into The Photoshop Window
- Position Your Epitome And Printing The 'Enter' Key To Place It
- Shift-Click The New Image Layer And The Layer You Desire To Combine
- Press Command / Control + E To Merge The Layers
- At present Your Image Is Added To An Existing Layer!
ii Means Of Adding A New Image Onto An Existing Layer In Photoshop
Since Photoshop is a layer-based editing program, that means you tin add new images to your projection on divide layers. Although they volition appear every bit individual images in your layers console, they will await like they are combined on your canvas. Keeping your layers separate gives you the ability to make amend private adjustments and piece of work non-destructively.
With that said, there are times when you want to add an prototype into a layer that already exists. When you lot combine two layers onto ane, it can make life easier for staying organized or remembering what's what.
Since nosotros like options around here, below will outline ii effective ways to combine images with layers, not-destructively and destructively.
Option 1: Drag & Drop
The easiest way to add an epitome onto an existing layer or Photoshop project is to elevate and driblet it from your computer. First by locating the image you want to add from your computer.
With your image selected, drag and drib information technology into your open up Photoshop project.
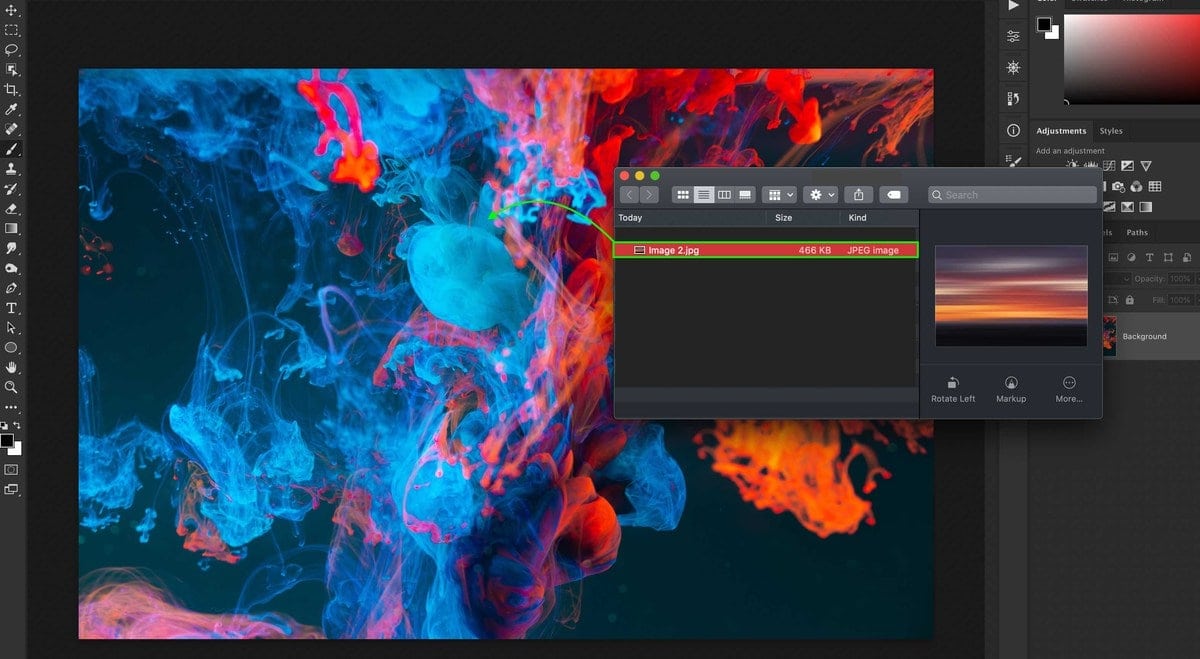
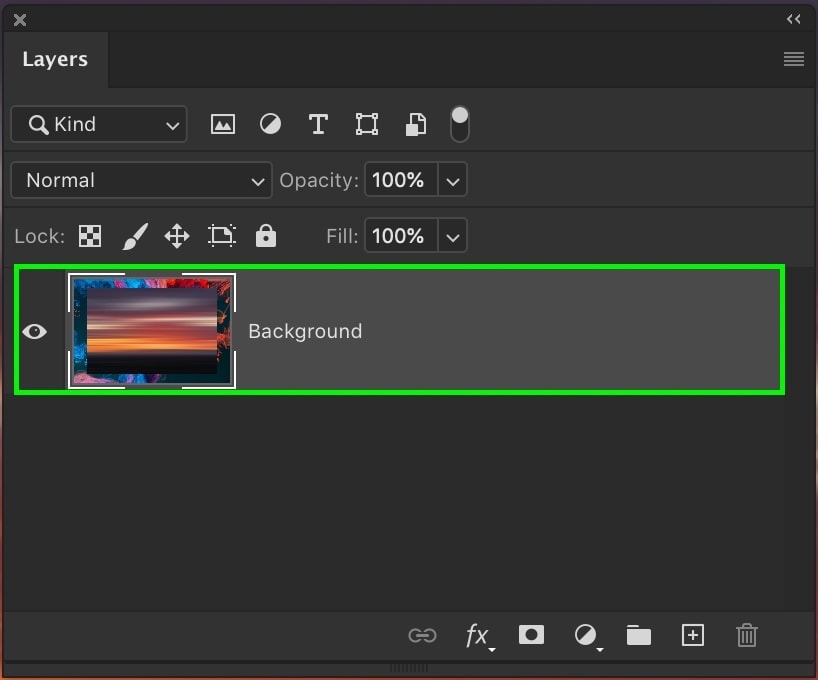
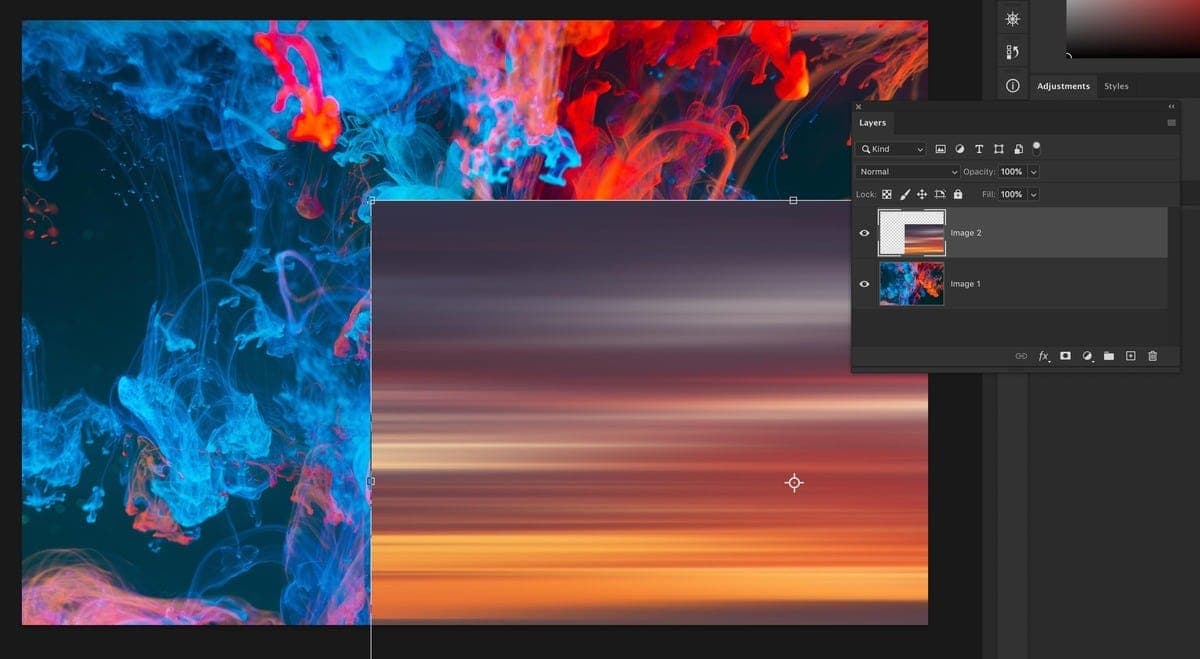
Your prototype will exist placed onto your sheet and announced as a new layer in the Layers panel. At this point, you tin can scale or reposition the image to adjust your needs. Y'all tin can make these adjustments later with the Movement Tool equally well, so at that place'southward no demand to make everything perfect.
Once you're happy, printing the Enter Central on your keyboard or click on the checkmark in the upper settings bar. Your paradigm will now be placed in a higher place your existing image on its own layer.
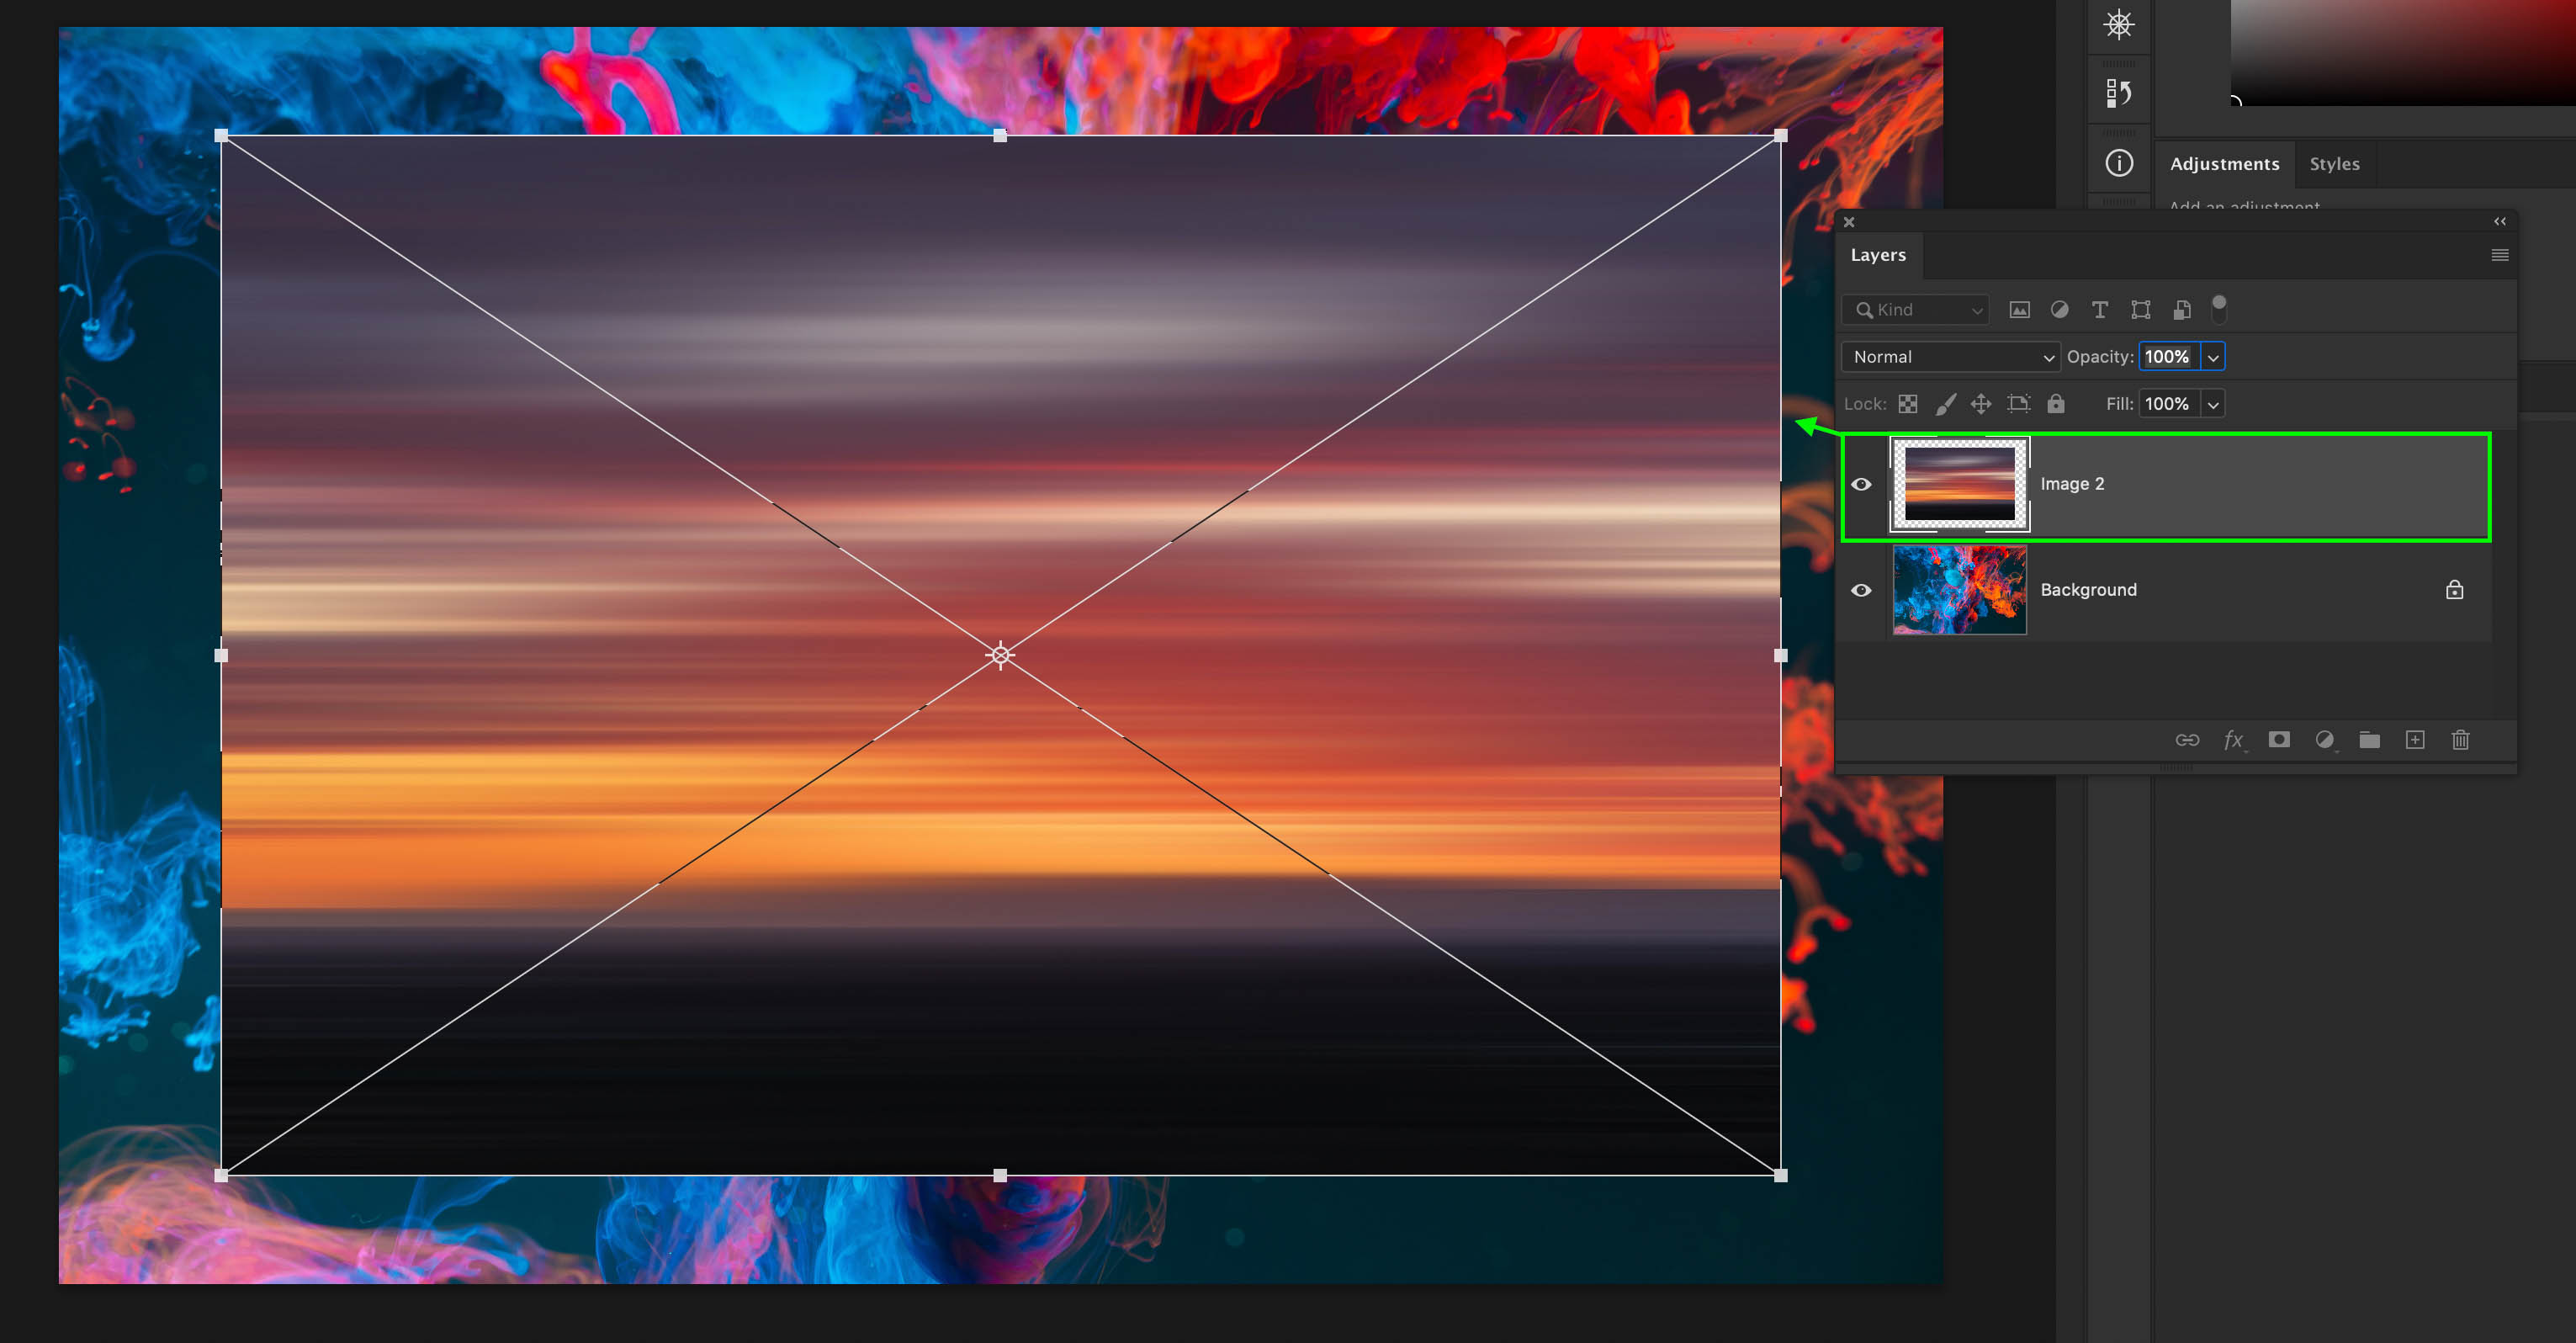
At this point, you now accept the pick to merge the layers or leave them split up. By keeping the two images split up, you tin freely adjust each one individually. Notwithstanding, if you want to combine them so you can adjust them at the same time, y'all tin can combine them into one layer.
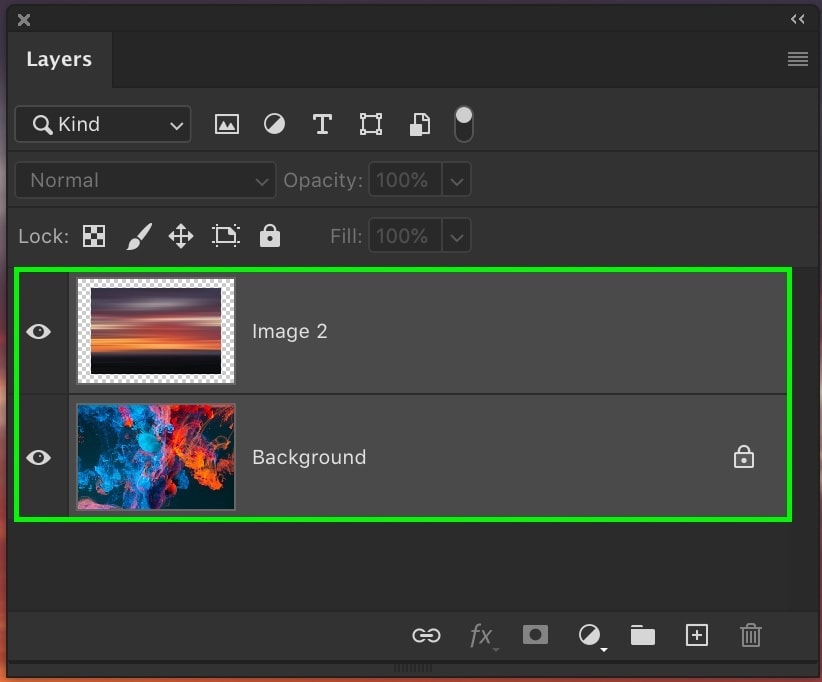
Holding the Shift Key and clicking between the two layers you want to combine, press Command + East (Mac) or Command + Due east (PC) to merge the layers. Now your images will be combined onto 1 layer and tin be edited as i prototype.
Option two: Re-create & Paste
The second option y'all accept is to just copy and paste. This works best for images you already take opened in Photoshop, just are between two different projects.
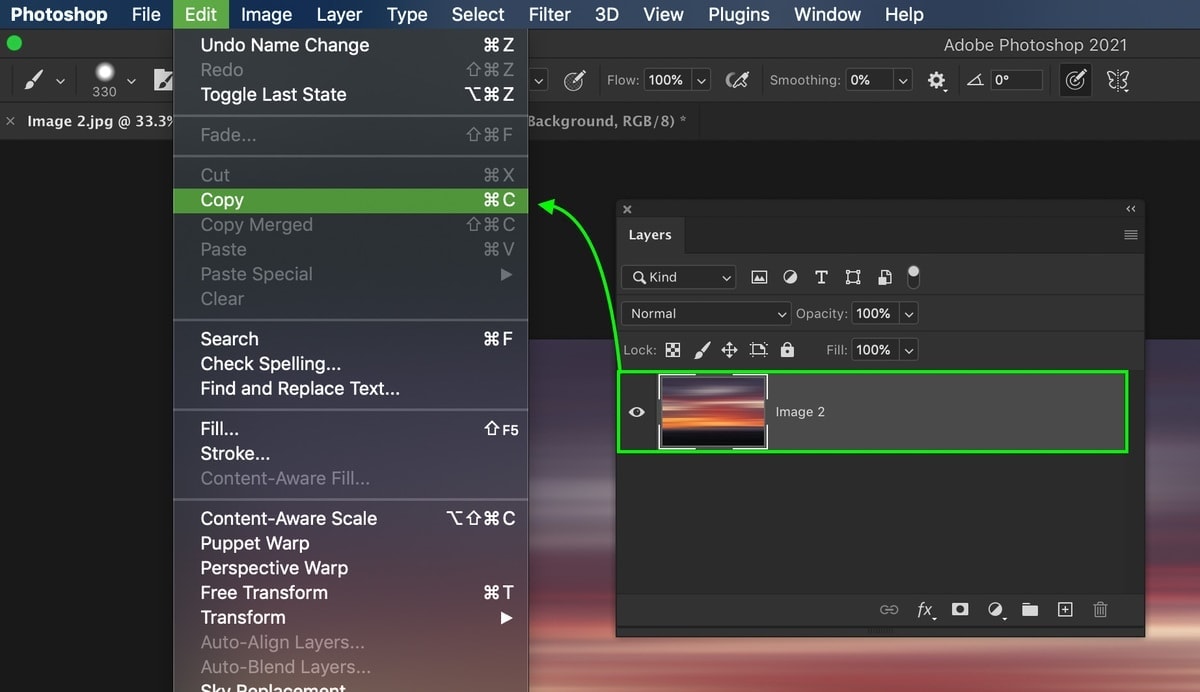
With the prototype you want to copy selected, go up to Edit > Re-create or press Command / Command + C (Mac/PC)
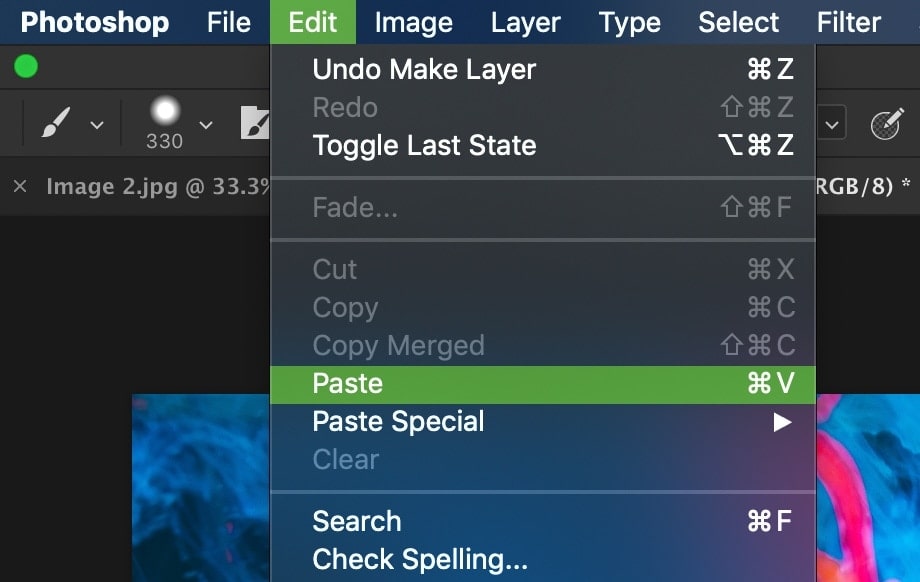
Switching documents to your other project, get to Edit > Paste or printing Command / Control + V (Mac/PC)

Your copied paradigm will be pasted into your other project as a new layer. With the Move Tool (V), you lot can calibration and reposition it into a more than fitting location.
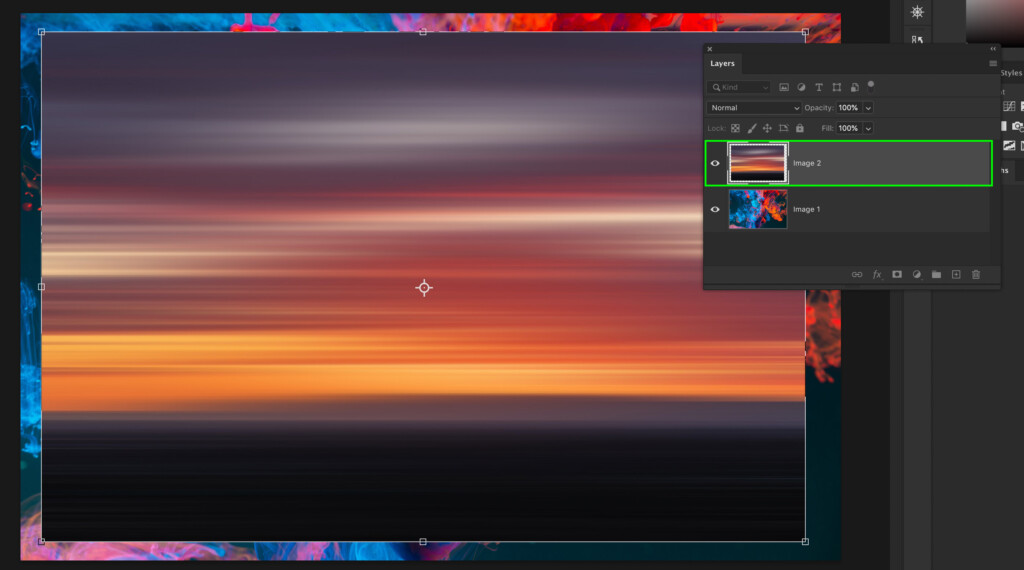
At present yous can choose to keep the images separate or merge them into one. In well-nigh cases, it'due south all-time to get out them on separate layers, so you accept more aligning options later on.
Yet, if you are assault merging your layers, you can practise so, over again, by pressing Command + E (Mac) or Command + East (PC).
Although both of these options work well for adding a new image to existing layers, there are options such as groups or linked layers that offer a non-destructive ways. Rather than permanently combining two images onto one layer, groups allow you to place them within a single folder. Similarly, links permit you lot move and scale images in sync, making it easy to suit them together.
How To Add An Epitome Inside Of An Existing Layer Using A Smart Object
As a third selection for adding an image to an existing layer, that's where smart objects come up into play. As I've outlined in this post, smart objects create a "container" for your layers to exist added into. On the surface, y'all simply see the smart objects, but you can edit all the layers inside individually when you open up the smart object.
Let's start by using either the drag & drop or copy & paste option outlined previously to bring an image into this already created project. At present in that location are two images on two separate layers.
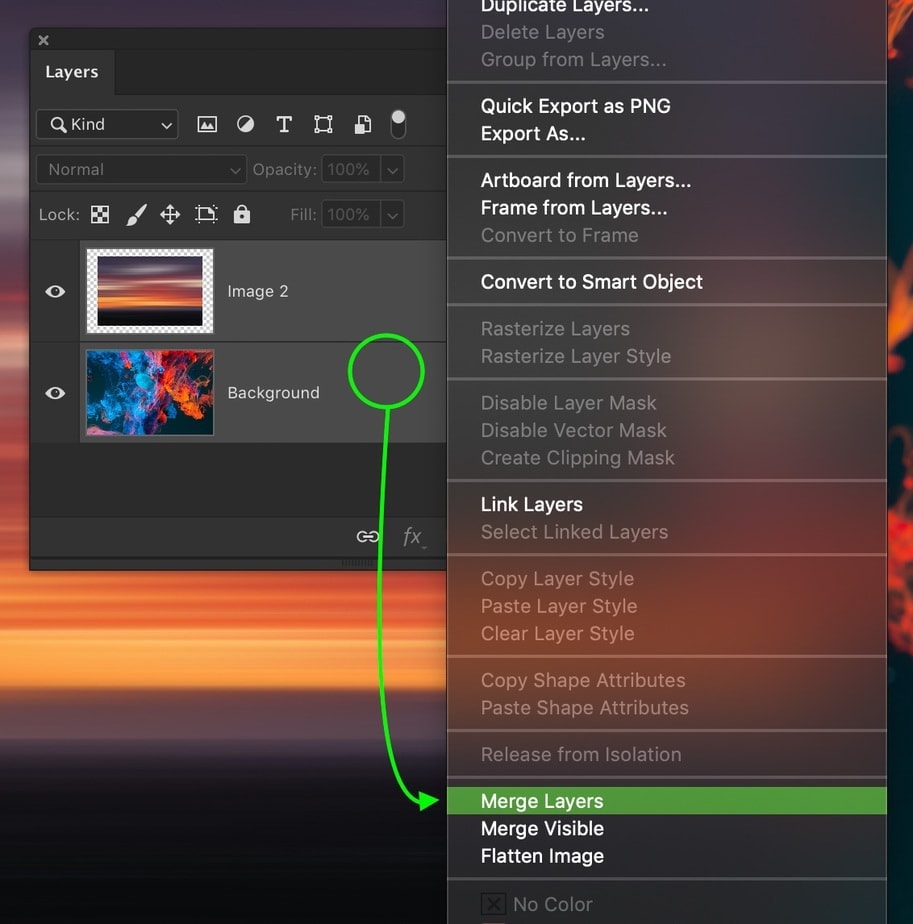
Next, Shift-Click between the layers you want to combine to highlight them. Then right-click on the layers and select 'Catechumen To Smart Object.'
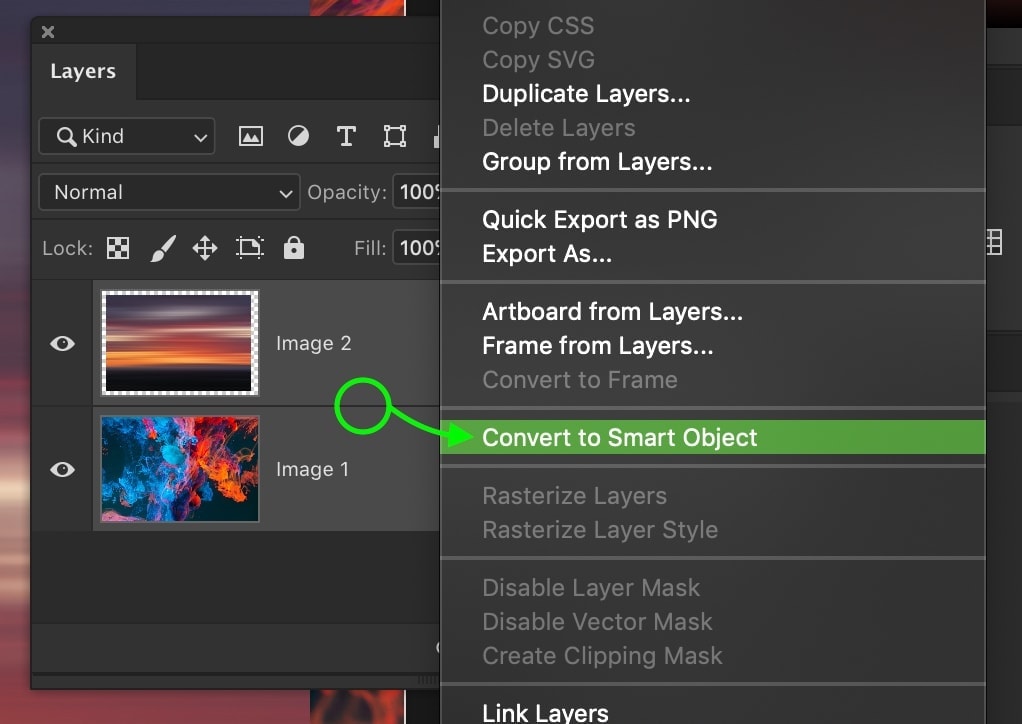
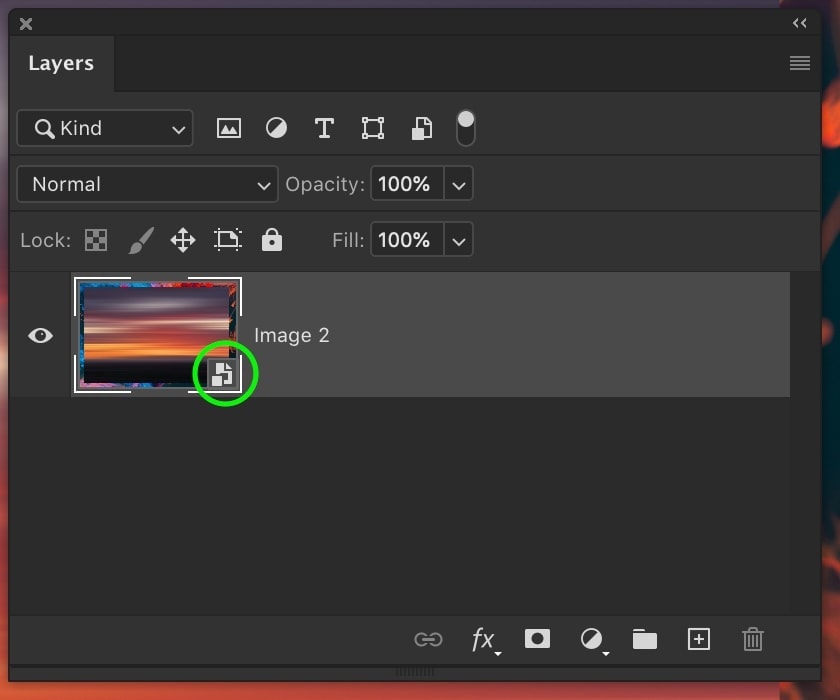
Your layers will so exist combined into one unmarried layer, with a smart object icon in the corner of the layer thumbnail.
On the surface, this looks a lot similar when yous merge two layers. However, past double-clicking on the smart object layer thumbnail, a new window opens to reveal the smart object'southward contents.
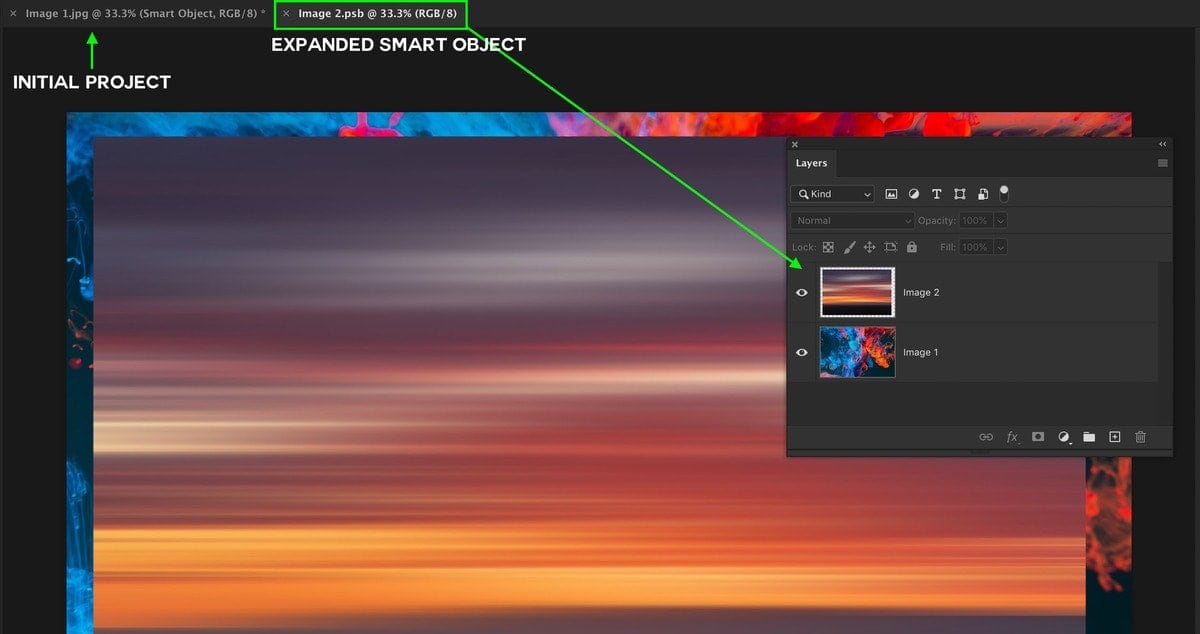
Now you can run into the two images from before on two separate layers. That's considering, inside the smart object, they remain untouched and tin can still be edited individually. For example, you could reposition 1 image inside the smart object to make a change in your original project. Past pressing Command / Control + Due south (Mac/PC) to save changes within the smart object, information technology will update in the initial project.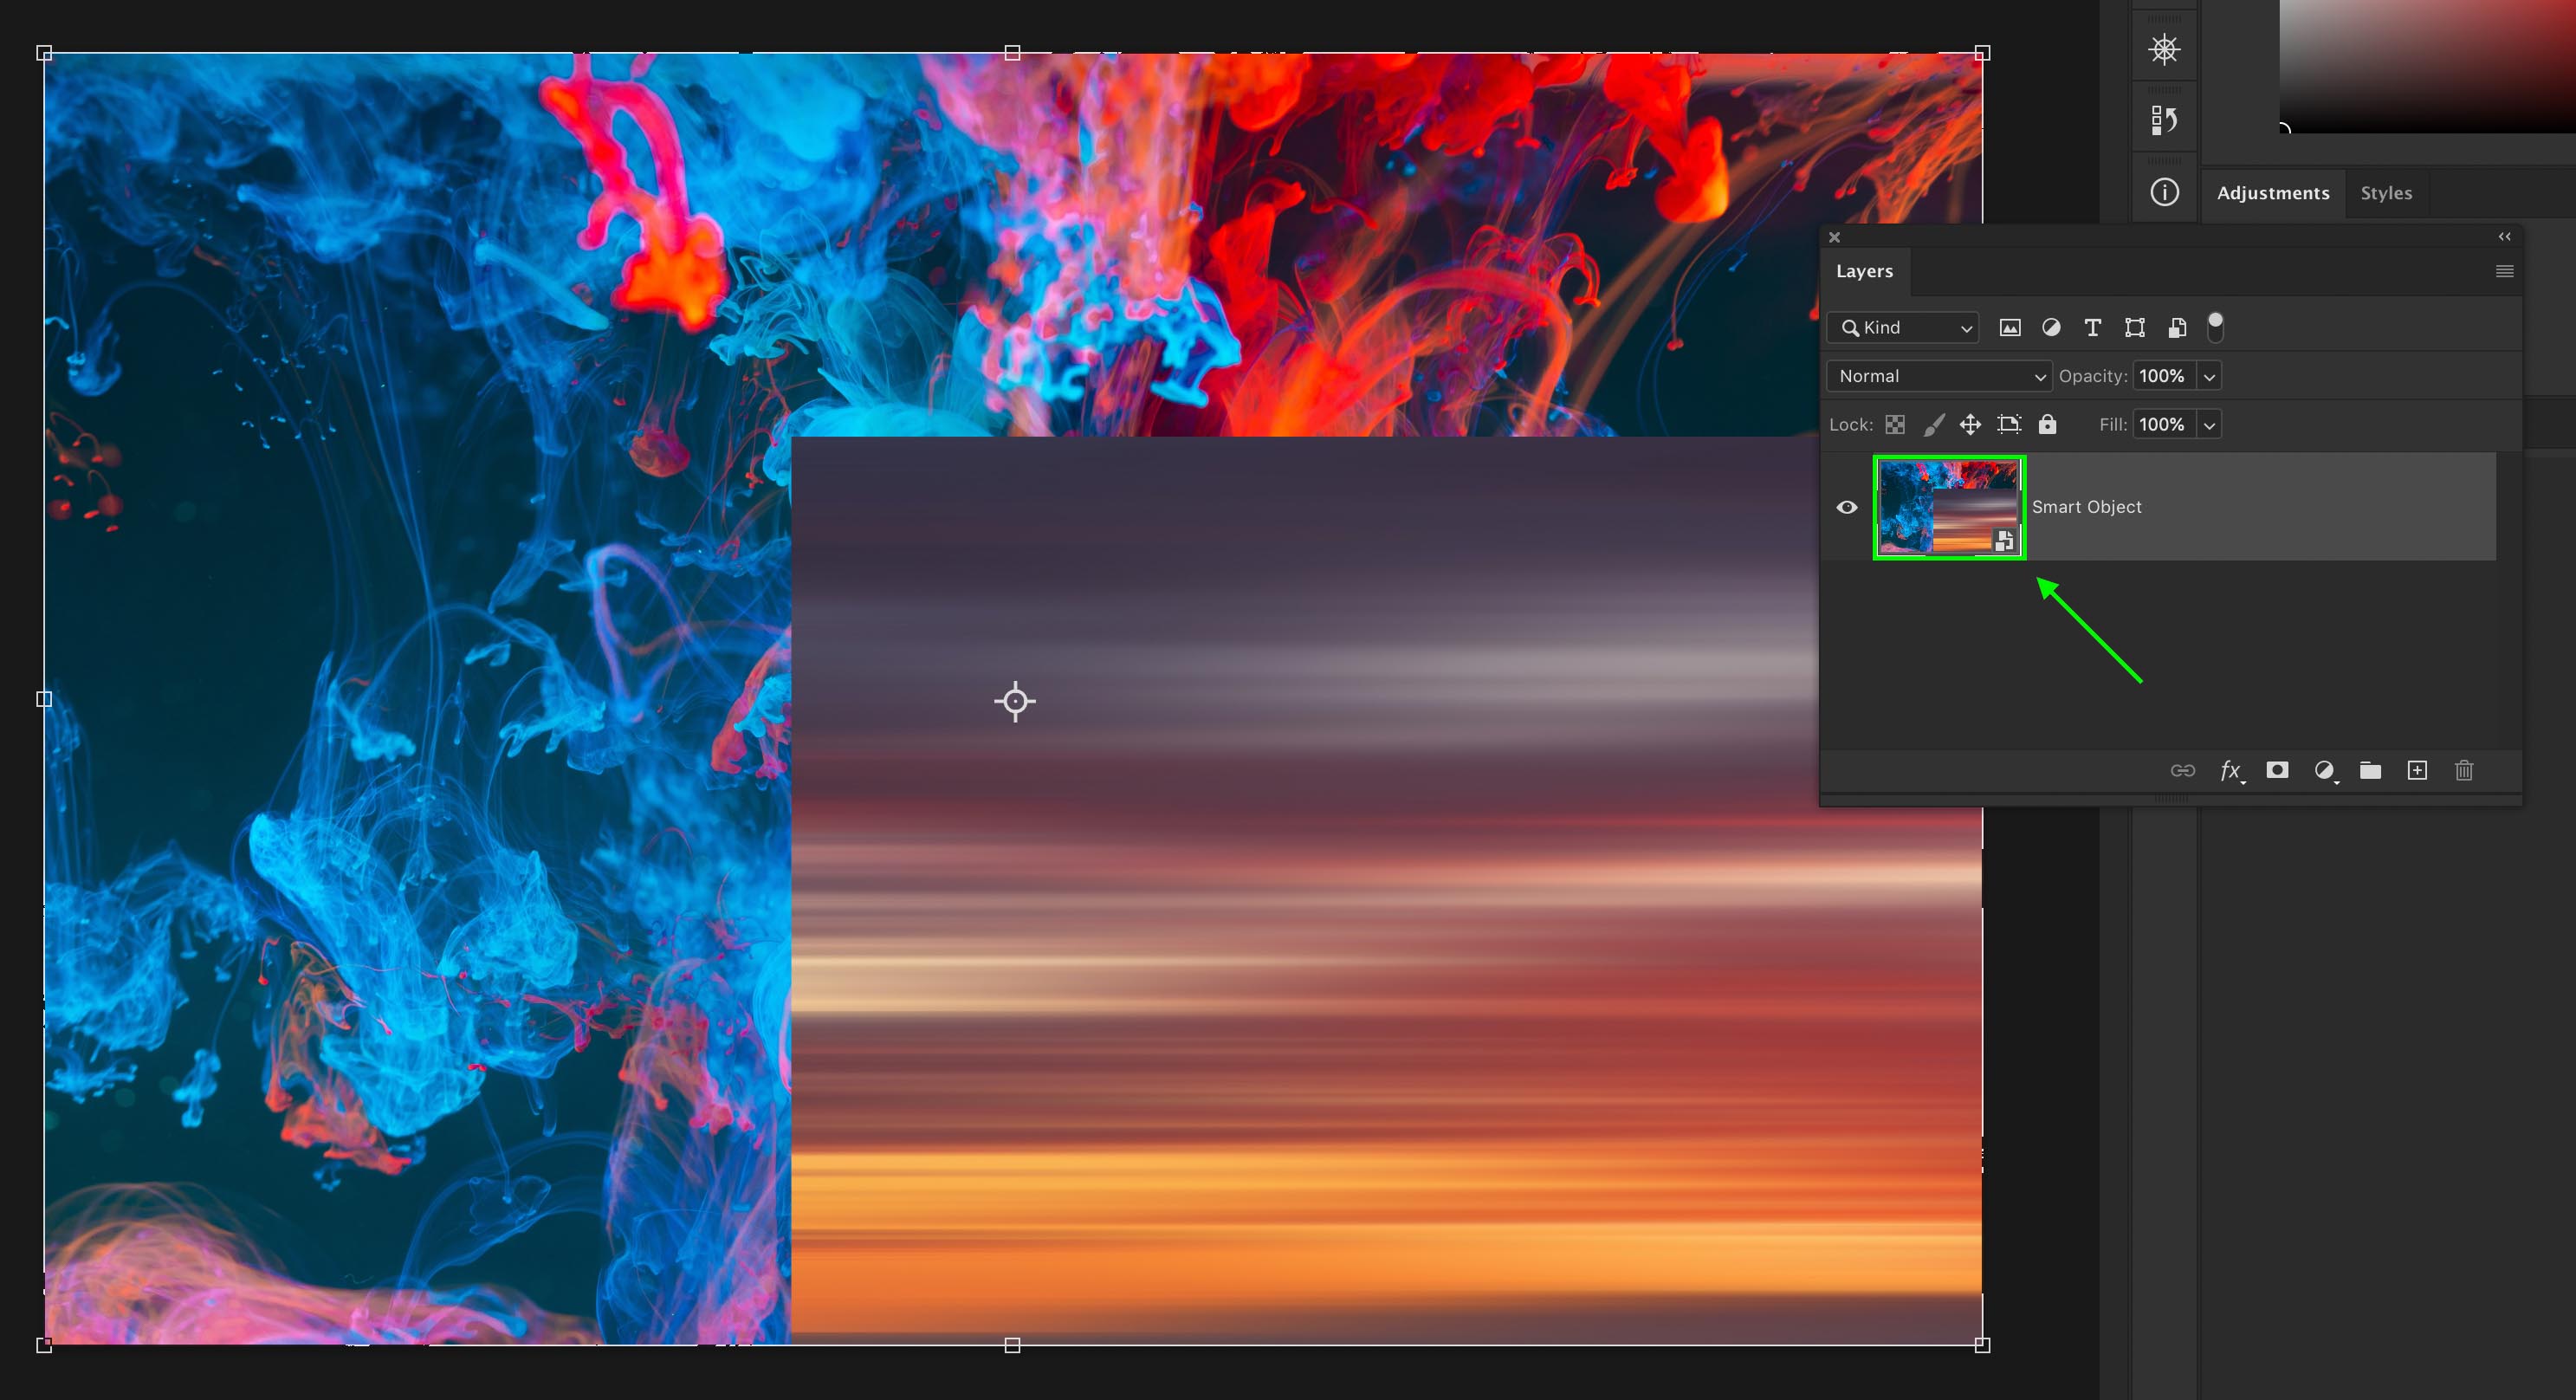
Adjusted layer within the expanded smart object.
How To Place An Image Within Of Another Layer With Clipping Masks
Depending on the type of result you're trying to create, you may mode to identify one paradigm within the shape of another. In this case, merging two different layers won't work. Instead, y'all need to utilise something called a clipping mask.
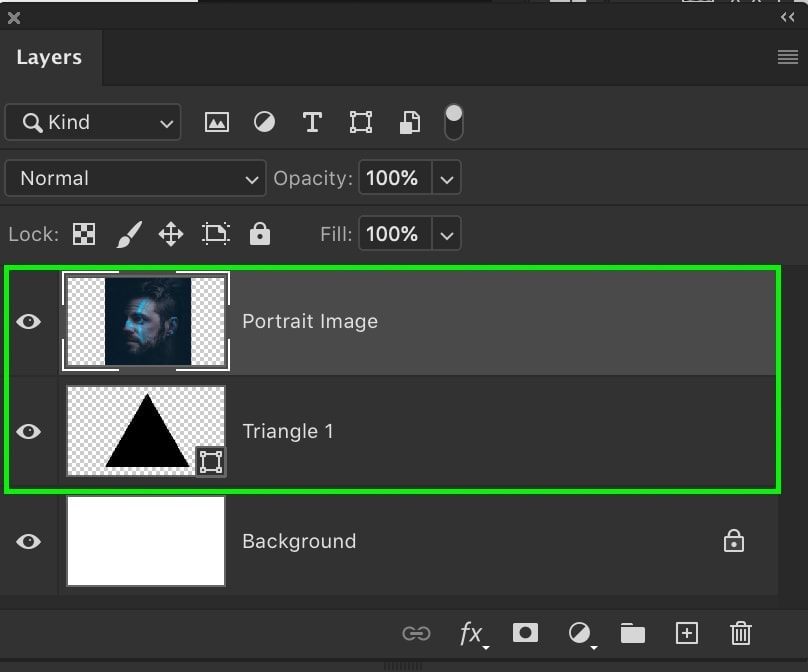
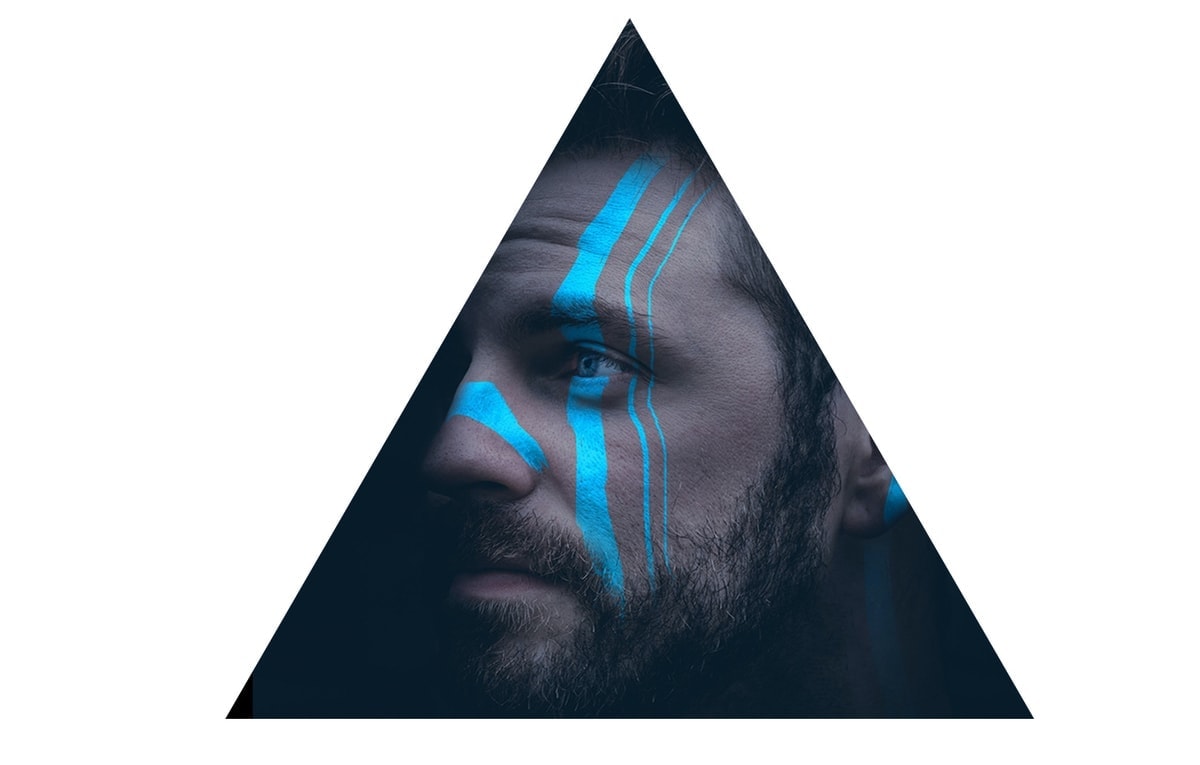
For example, allow'due south say you lot have an existing triangle on one layer that you desire to add an image into. By following the steps discussed previously, bring your desired image into your project, placing the image layer in a higher place the existing shape layer.
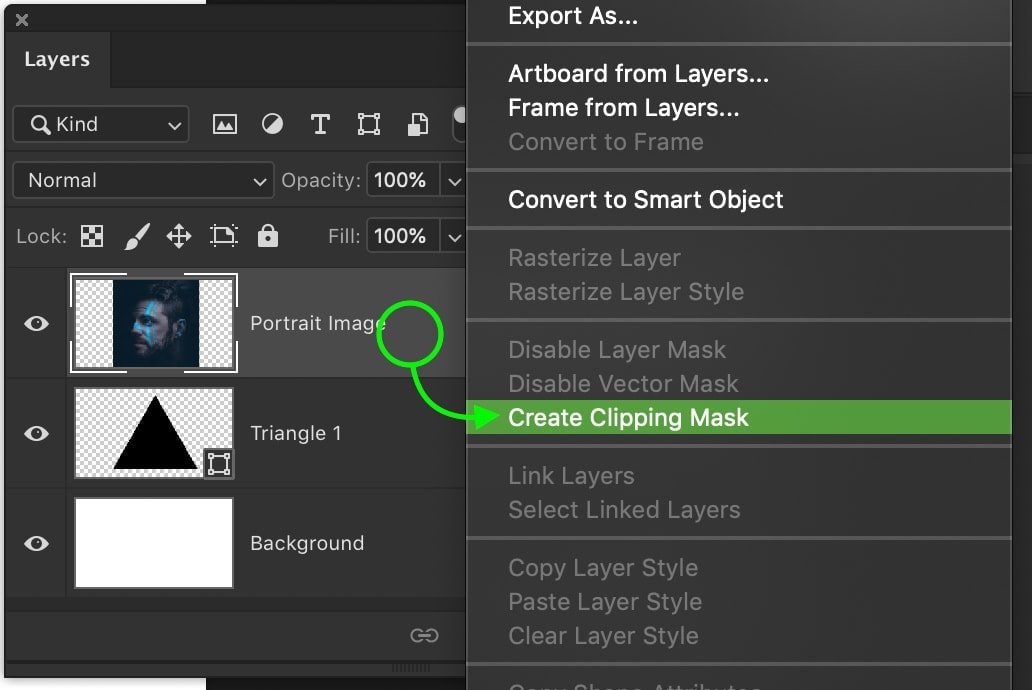
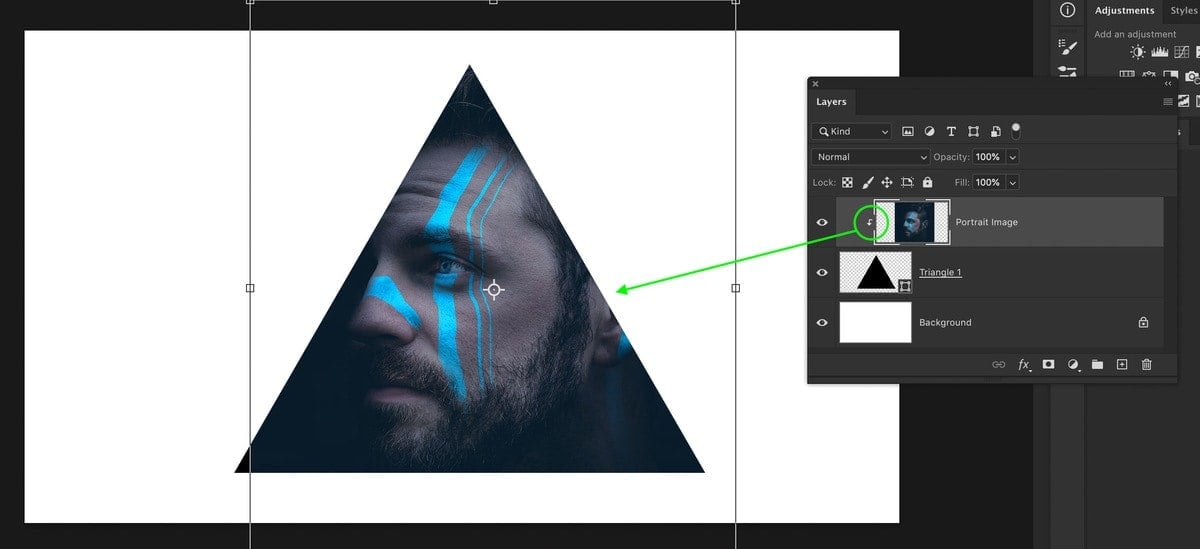
At present, rather than combining the layers or creating a smart object, yous'll take to clip the paradigm layer to the shape. Past correct-clicking on the image layer and selecting 'Create Clipping Mask,' the epitome will only exist visible inside the shape layer.
You can learn more than about clipping masks and how they work in this post.
The process of calculation an paradigm to an existing layer in Photoshop is relatively straightforward, and there are options for editing destructively and non-destructively. In nearly situations, it'due south all-time to simply get out your images on split layers, then you have the option to edit them individually. If the organization is a business concern or you want to edit multiple layers at once, then smart objects, groups, or linked layers offering an effective selection instead.
Happy Photoshopping!
Brendan 🙂
Source: https://www.bwillcreative.com/how-to-add-an-image-to-an-existing-layer-in-photoshop/
Posted by: jacobsslions.blogspot.com
0 Response to "How To Get One Image Inside Another Image In Photoshop"
Post a Comment